

This week on our Youtube channel I posted another floral watercolour tutorial – How to Paint Water Lilies. Water Lilies are one of my most requested tutorials so I hope you enjoy watching it as much as I had fun creating it. To watch the tutorial please visit https://www.youtube.com/watch?v=ZUT5817m8sk
We upload tutorials twice a week on Youtube and this week my tutorial was based on my Patreon watercolour challenges so you can see how it differs from my normal videos!
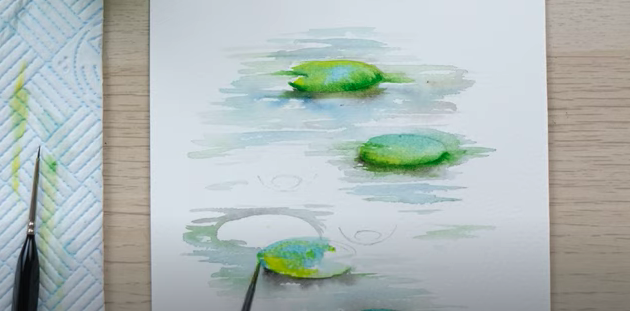
Painting Lilypads
To start this painting I draw directly onto the paper with a pencil to create the water lily pad shape – a squashed oval. This helps me further down the line so I know where they are. I also like to draw in the water lilies themselves so that I can again reference how they sit on the pads and where their base is.
My inspiration for this piece is the Monet painting that we all know and love so you could also use that as a reference whilst painting. If you look closely at his painting you will notice that his water is much darker than the water lilies which I found very interesting!

Blending and Bleeding the colours
As this painting is a loose watercolour piece it is easy to blend and bleed the colours nicely together. The best way to achieve this is to keep the paint and paper wet and use a small brush.
I like to use bold colours that work well together for example a vibrant green and dark blue. These colours help to create the realistic style we are going for.
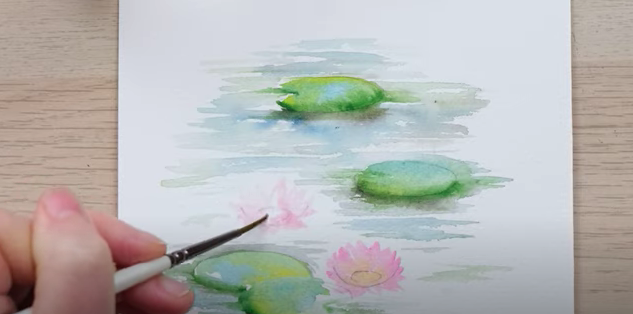
Painting Water Lilies
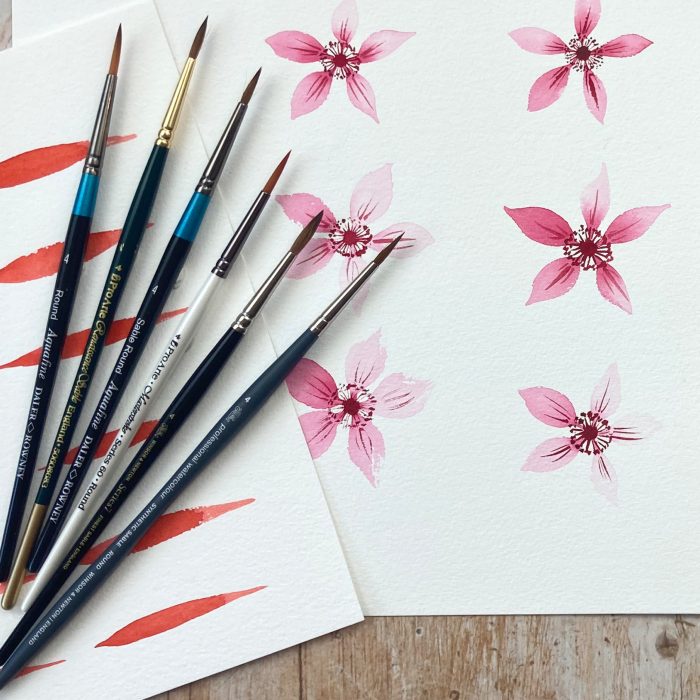
Once your background composition of the water and lilypads has dried it’s time to paint in the beautiful water lilies. I prefer to use a small brush (Size 2) and also paint the flowers on a smaller scale as they have a lot of petals.
I recommend starting to paint the water lilies by almost sketching with paint the petals in a translucent manner to start giving them shape – I like to think of the petals in a cup form with delicate points at the end.
Once the first layer is dried I like to go in with a darker colour and a small brush to create the details and darker petals to create a depth to the flower. I then also go over this again with a darker crimson colour to define each petal – the finishing touch! Once this has all dried I also like to go back to the water and add in finer details, it really helps to finish the piece don’t you agree?
(Don’t forget to rub out your pencil lines too!)
Let me know how you found this tutorial – How to Paint Water Lilies. I’d love to see your take on them, did you give it a go? Do you have any questions? You can comment on our youtube video – https://www.youtube.com/watch?v=ZUT5817m8sk or follow us on Instagram – @dewintonpaperco.
The materials I used in this tutorial were:
Paint: Winsor and Newton Artist Quality – https://bit.ly/3dJHarN
Brushes: Pro Arte size 2, 6 – https://bit.ly/2LCtli6
Brushes: Pro Arte MP series miniature size 2/0, 5/10 https://www.jacksonsart.com/pro-arte-…
Paper Daler Rowney Aquafine cold-pressed paper – https://bit.ly/3cmQSzn
You will also need a pencil, a rubber and some kitchen roll.
Thanks for taking the time to read about our tutorial this week all about water lilies and until next time, happy painting!🌸