

Earlier this week on our Youtube channel I posted a brand new tutorial – An Introduction to Watercolour Feathers and I promised you a follow-up tutorial: Painting real feathers in watercolour which has now been uploaded to our channel. To watch part two of our feather series please visit https://www.youtube.com/watch?v=EKidp0qx8zI
We always upload tutorials twice a week on Youtube so it’s the perfect opportunity to take some take, watch the videos and paint along with me.
Real Feathers
If you’ve ever looked up close at a real feather you will have seen the intricate details they have, and what makes them so fascinating to draw is that they are made up of so many patterns and lines so you can really build upon your painting to recreate the beautiful textures.
I really appreciate the beauty of birds and their feathers and really enjoyed making both of these tutorials – I hope you enjoy them too!
Different types of feathers
Before you start to paint feathers you will have to rummage outside in the grass to find some feathers, look closely around pond areas or in the long grass as this is where they are likely to be hiding. For my tutorial I used three different kinds of feathers that we found outside; a duck feather (Mallard), a pheasant feather (painted as a guinea fowl feather) and a woodpeckers feather, they were all so magical and inspiring in so many ways.
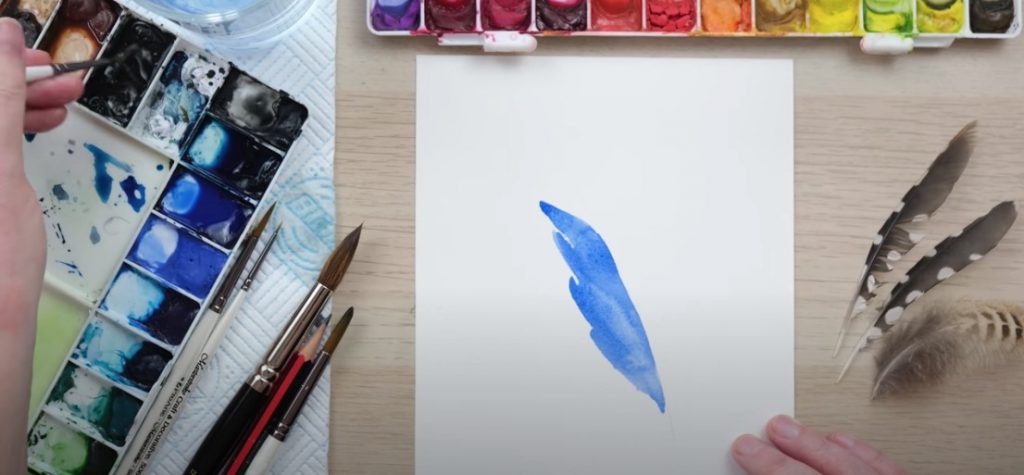
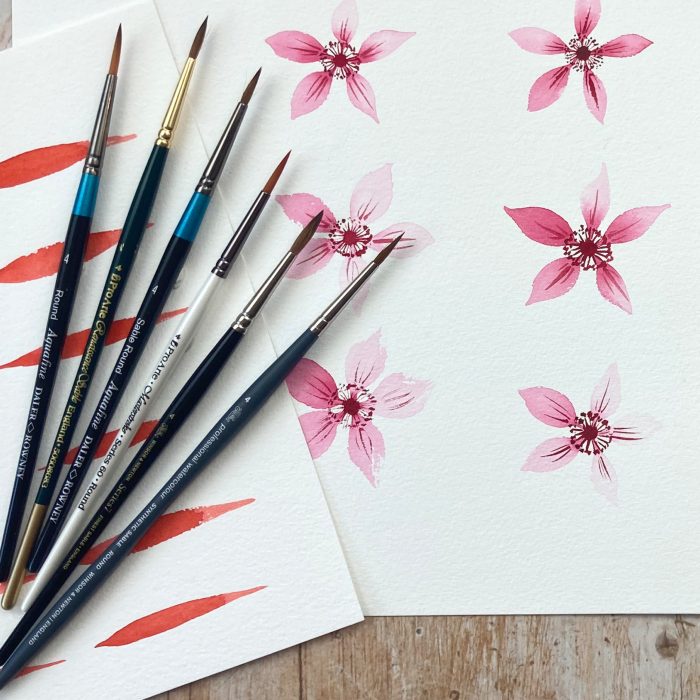
In my previous tutorial, we started to paint with our larger brush to create the feather shape but for the real mallard feather and guinea fowl feather I needed more control over the shape so I decided on using my size 8 brush – Pro Arte Masterstroke series 60 8, – https://bit.ly/2LCtli6.
I moved back to my size 12 brush for the woodpecker feather – Pro Arte Masterstroke Series 100 Connoisseur Brush Round Size 12 – http://bit.ly/3qXTjja as I needed to create one large stroke before adding the detail.
Colours
Real feathers have very deep and vibrant colouring most of the time and whilst painting them it’s a good idea to try and replicate the colour blocking panels and then build upon them so that they stay vibrant. You will notice when you have the feather in front of you that the light hits the feather in a fascinating way and it’s important to replicate that whilst painting to allow it to look more realistic and glossy.
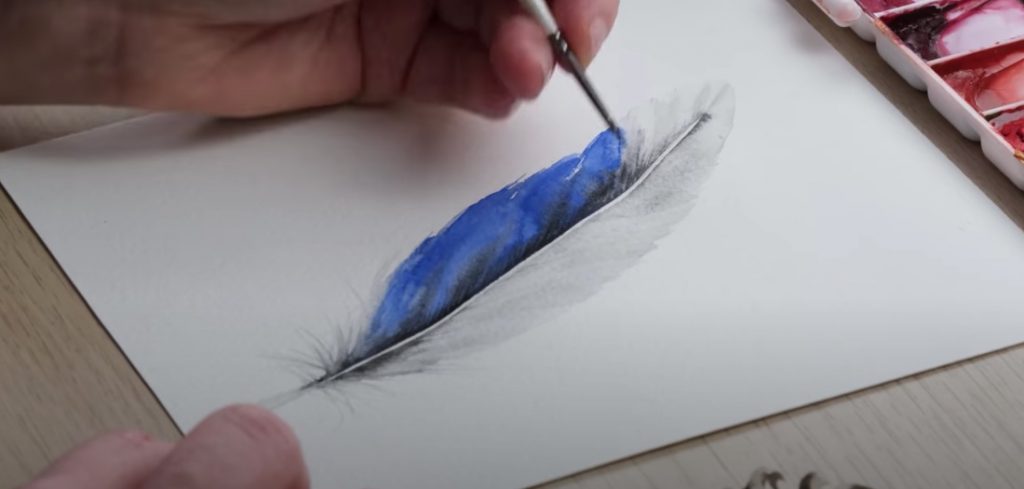
Detailing
As you will see when you have a feather in real life there is a huge amount of intricate lines that make up the feather and give them a finessed texture. This can be replicated whilst painting them by using a much smaller brush and darker colours to create depth.
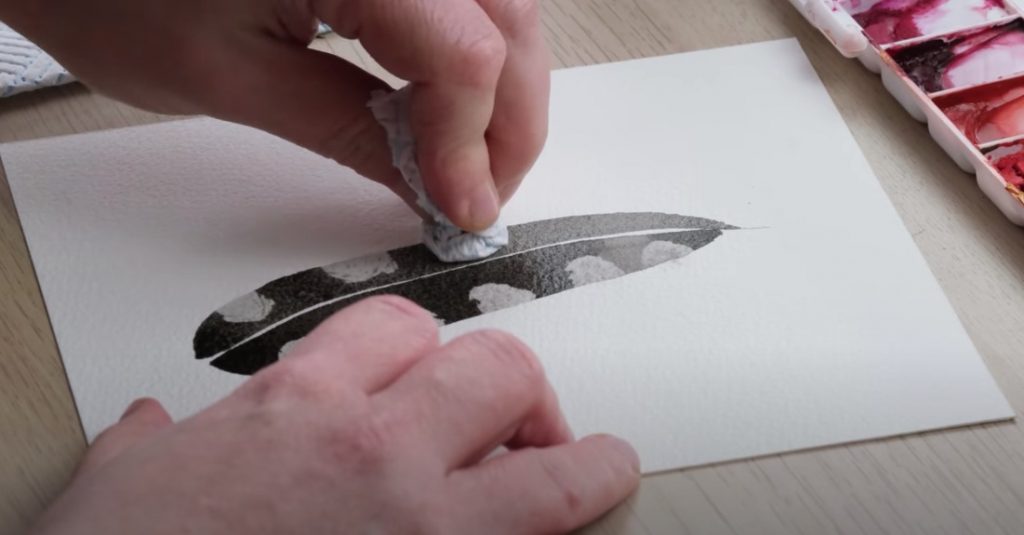
As you will see in the tutorial the gorgeous woodpecker feather and had vibrant white dots, I used a blotting technique by rolling up a small bit of kitchen roll and pressing on to the painting to recreate these spots which created the natural detailing without overpainting and using masking fluid.
I also used the blotting technique whilst painting the guinea fowl feather, and to add even more texture I started by adding small blended dots to the top of the feather and then removed some of the texture with the kitchen roll wrapped around a small brush to once again create natural speckles.
In Summary
I think the biggest challenge with feather patining is managing your time, you want to be able to create the loose blends but also add intricate details in order for them to blend together. I hope that these tutorials have inspired you to get outside and take a closer look at nature, feathers really bring me lots of joy and I find them a fascinating subject to paint.
Let me know how you found this tutorial – Painting Real Feathers in Watercolour. I’d love to see how your feathers turned out, did you give it a go? Do you have any questions? You can comment on our youtube video – https://www.youtube.com/watch?v=3biub7ZNnzo or follow us on Instagram – @dewintonpaperco.
The materials I used in this tutorial were:
Winsor and Newton Artist Quality – https://bit.ly/3dJHarN
Pro Arte Masterstroke Series 100 Connoisseur Brush Round Size 12 – http://bit.ly/3qXTjja
Pro Arte Masterstroke series 60 size 2/0, 3/0, 2, 8, – https://bit.ly/2LCtli6
Paper Daler Rowney Aquafine cold-pressed paper – https://bit.ly/3cmQSzn
You will also need a pencil, a rubber and some kitchen roll.
Thanks for taking the time to read about our tutorial this week all about feathers and until then, happy painting!