
This week on our Youtube channel I posted a brand new watercolour tutorial – How to Paint Watercolour Pansies.
The pansy flower is another favourite of mine to paint because in my opinion it was made to be painted in watercolours, do you agree? To watch the tutorial please visit https://www.youtube.com/watch?v=wW2ldE-EXvU
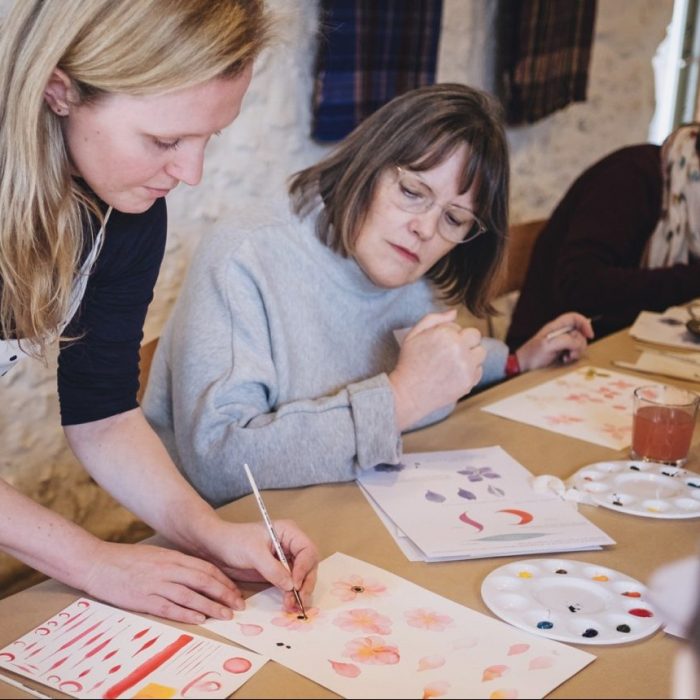
We upload tutorials twice a week on Youtube so why not watch the videos and paint along with me?
Painting Watercolour Pansies
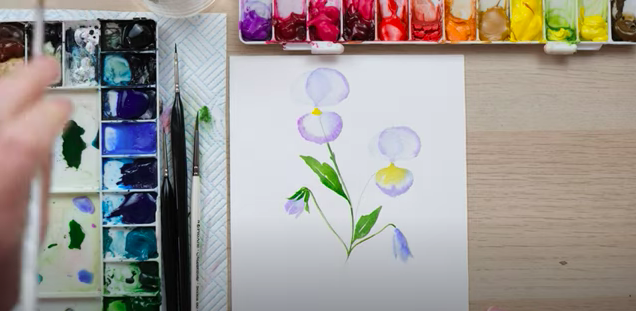
As mentioned I love to paint pansies and the style preferred for these beautiful flowers is a controlled but loose watercolour painting. If you look online or outside at pansies you will see a wide variety of colour combinations and it’s so fun to create your own perfect colour combination! For this tutorial I chose a Blue/Indigo combination, what did you go for?
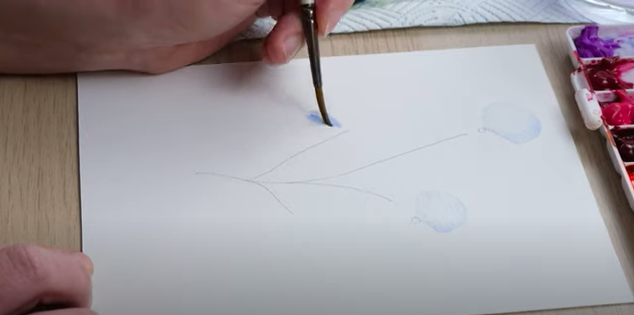
I like to start by drawing in the stems and buds to guide me and by starting at the petals at the back. The shape of the pansy petals are very fan-like and it’s very important to start painting the petals delicately before building up.
Top Tips for Painting Pansies
In this tutorial my top tips would be:
- The flowers have 5 petals each – paint each petal separately.
- Let every layer completely dry so it is crisp.
- Sample various colour combinations to find the perfect one for you.
- Overlap each petal with a different tone of colour.
- The petals are uneven so don’t try to make them all symmetrical and perfect.
- The stems are long and have lovely long textured leaves as well. I like to use my bigger brush to paint these leaves in.
Details
If you take a close look at pansies you will see the various different types and shapes within the petals and I love to layer my painting up to show these details.
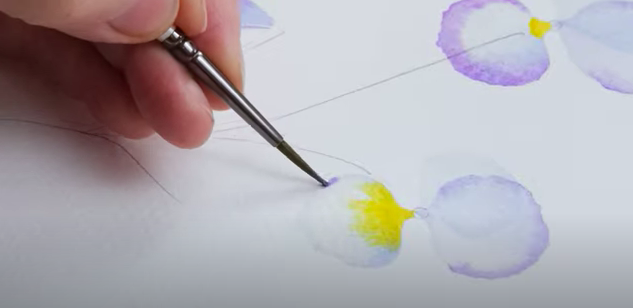
To add a defined edge to certain petals I blend in a darker colour around the wet edge and then adding more of a concentrated colour around the edge to create the crisp/frilled edge that the petals have in real life.
I like to add a concentrated yellow to the middle of the petal in various different shapes on each flower which really add a pop of colour before adding in the finer details.
Once the painting is dry I like to use a much smaller brushes to add the final details, and this is where the controlled technique begins. (Don’t forget you can add water to blend and soften the edges as well though!)
Let me know how you found this tutorial – How to Paint Watercolour Pansies. I’d love to see your take on painting with these layers, did you give it a go? Do you have any questions?
You can comment on our youtube video – https://www.youtube.com/watch?v=vVELxjSwYq8 or follow us on Instagram – @dewintonpaperco.
The materials used in this tutorial were:
Paint: Winsor and Newton Artist Quality – https://bit.ly/3dJHarN
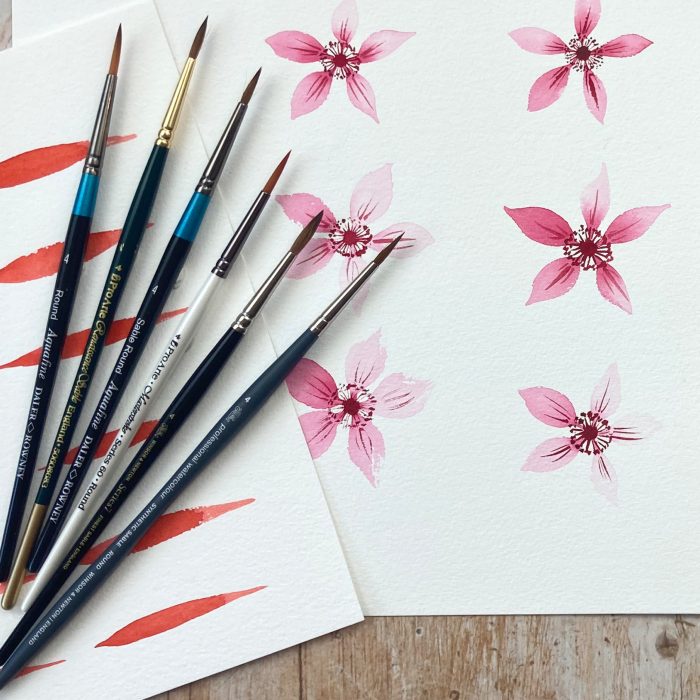
Brushes: Pro Arte size 2, 4, 6 – https://bit.ly/2LCtli6
Brushes: Pro Arte MP series miniature size 2/0, 5/10 https://www.jacksonsart.com/pro-arte-…
Paper Daler Rowney Aquafine cold-pressed paper – https://bit.ly/3cmQSzn
You will also need a pencil, a rubber and some kitchen roll.
Thanks for taking the time to read about our tutorial this week and until next time, happy painting! 