


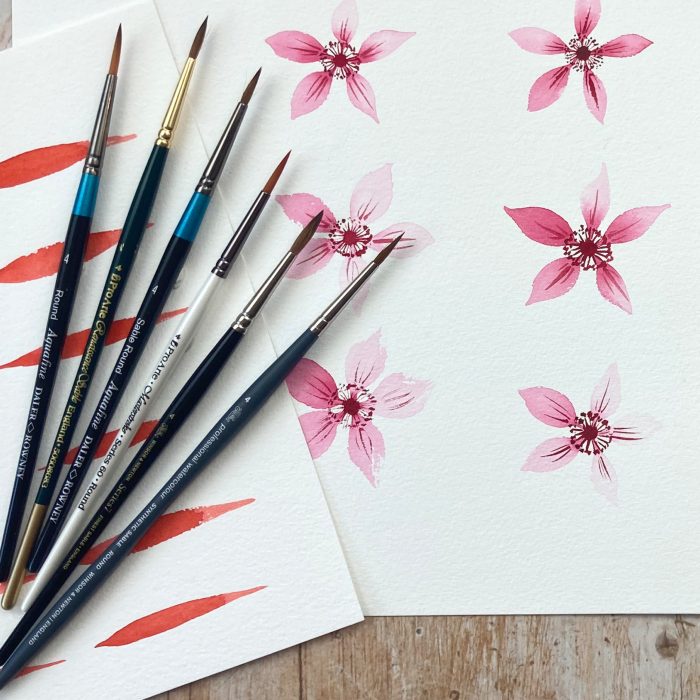
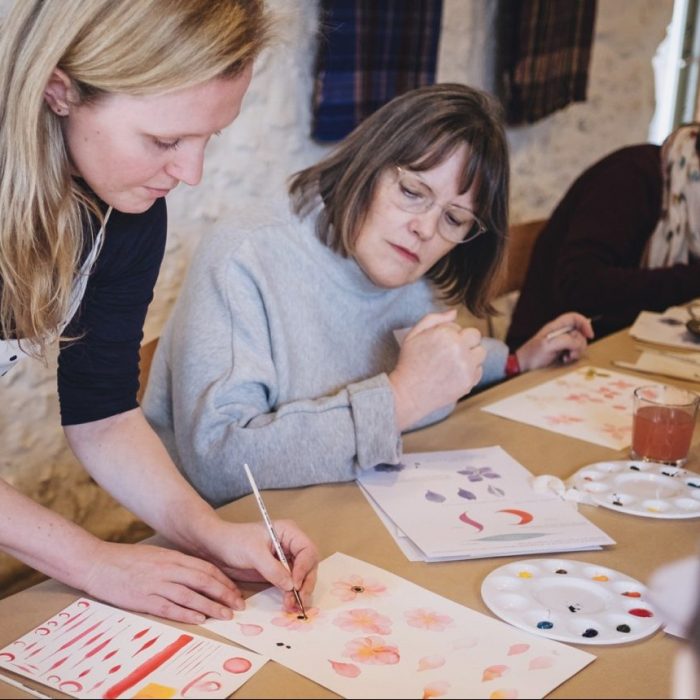
This week on our Youtube channel I posted a brand new watercolour tutorial – How to Paint Watercolour Clematis.
This is a detailed painting of the Florida variant and I just love how beautiful the colourful petals and leaves are. To watch the tutorial please visit https://www.youtube.com/watch?v=-84Ho6ThEj4
We upload tutorials twice a week on Youtube so why not watch the videos and paint along with me?
Composition
This piece is one of my favourites to teach as it takes up the whole page and you can learn how to space out your flowers and leaves to create the beautiful end piece.
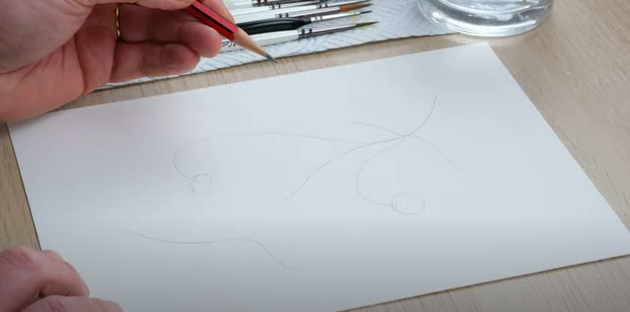
My top tip for a larger piece is to draw in exactly where you see your flowers and leaves by drawing in the stems and small shapes. I like to use a variety of open flowers and half-open to create different textures but you can choose how you like yours to lay and how many you use. I always draw in the shapes with a pencil and add details such as the oval for the seedhead so that it guides me as I paint.
Once you’ve started painting you can easily add leaves to fill the space without crowding the page which is another reason I love painting this flower.
Painting White on White
This isn’t the first time I’ve taught how to paint white on white and if you’ve been following my tutorials you may have seen my White cherry blossom post whereby I also show you how to paint in this style.
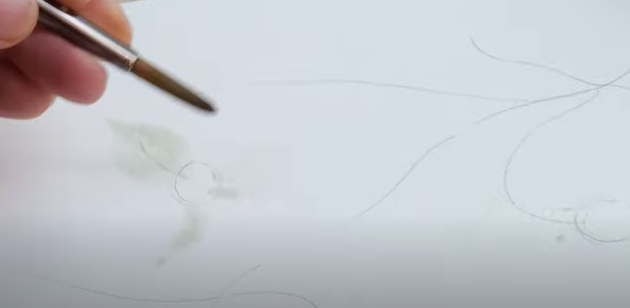
I start by mixing a very dilute mixture of greens, blues and oranges for my white clematis petals, which may sound strange but trust me it works. These colours create a shadowy tone and the more water you add the better the colour is.
As they are very dilute and watery don’t forget to let them completely dry before going back to add detail. (If you are brave enough you can add a tiny bit of detail with a concentrated colour down the middle of the petal)
Adding Detail
One of the great things about painting the Floria clematis is that because they are white, it makes it very easy to paint in the colourful centre and adding detail on top.
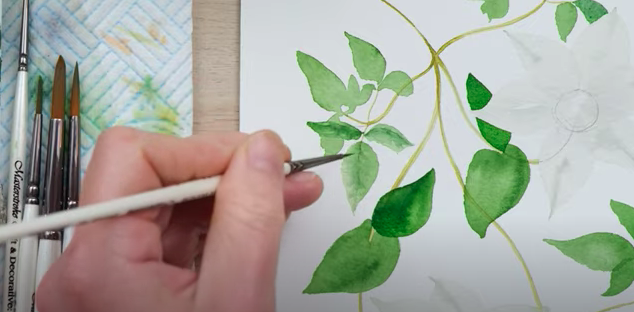
I usually shy away from painting detail on leaves but I have recently become a convert as I think it really brings the painting to life. By using a small brush and mixing up a concentrated green I add detail to the leaves by painting leaf lines. A trick I like to use is to draw one central line on the leaf, clean the brush and whilst it’s still wet use a wet brush to fade the line outwards which softens and blends the detail to create a faint texture.
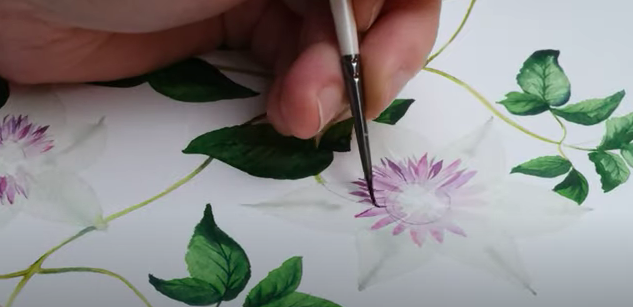
Now to my favourite part – the centre of the flower! I adore the bright purple colour of the Florida clematis and it is so much fun to paint. To create the detail for this part of the painting I build up multiple layers of diluted colours, and different colours for each layer to create different textures.
Let me know how you found this tutorial – How to Paint Watercolour Clematis I’d love to see your take on painting white on white, did you give it a go? Do you have any questions?
You can comment on our youtube video – https://www.youtube.com/watch?v=-84Ho6ThEj4 or follow us on Instagram – @dewintonpaperco.
The materials used in this tutorial were:
Paint: Winsor and Newton Artist Quality – https://bit.ly/3dJHarN
Brushes: Pro Arte size 3/0, 2, 4 – https://bit.ly/2LCtli6
Paper Daler Rowney Aquafine cold-pressed paper – https://bit.ly/3cmQSzn
You will also need some kitchen roll and a pencil.
Thanks for taking the time to read about our tutorial this week and until next time, happy painting! 