
This week on our Youtube channel I posted another brand new watercolour tutorial – How to Paint Cute Watercolour Woodland Critters. This is a loose watercolour painting of some of the cute woodland animals you might see on a long walk. To watch the tutorial please visit https://www.youtube.com/watch?v=G7UCXjc20Ns
We upload tutorials twice a week on Youtube so why not watch the videos and paint along with me?
Tips for painting animals
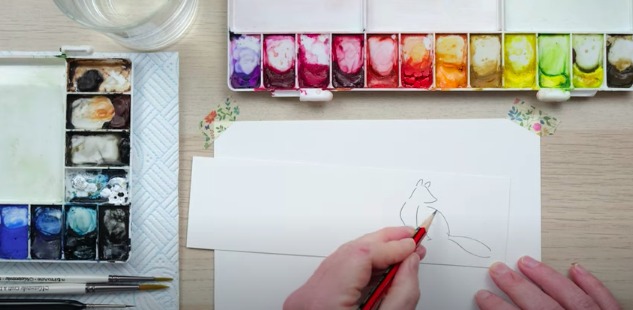
In my previous tutorials, you’ve seen me draw out the shape of the object I want to paint as a reference and this is no different to these woodland creatures. Having a reference drawing by your side will help to build your confidence and one day you won’t even need this guide – how exciting! If it’s your first time painting these animals then this step is handy and helpful at the same time.
The drawings don’t need to include any detail, try and draw a minimalistic animal with curves to help guide you.
I like to paint these critters using a loose watercolour technique, making sure the paper is wet and easy to blend (but not too wet)
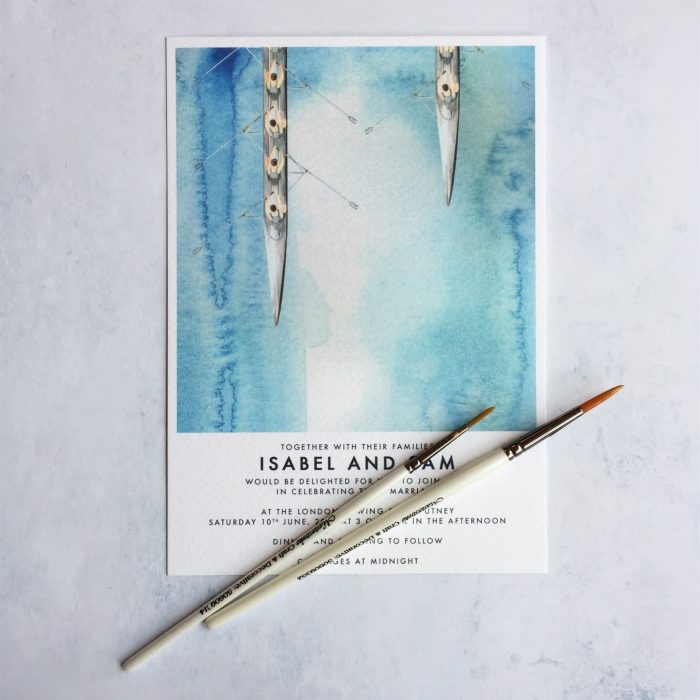
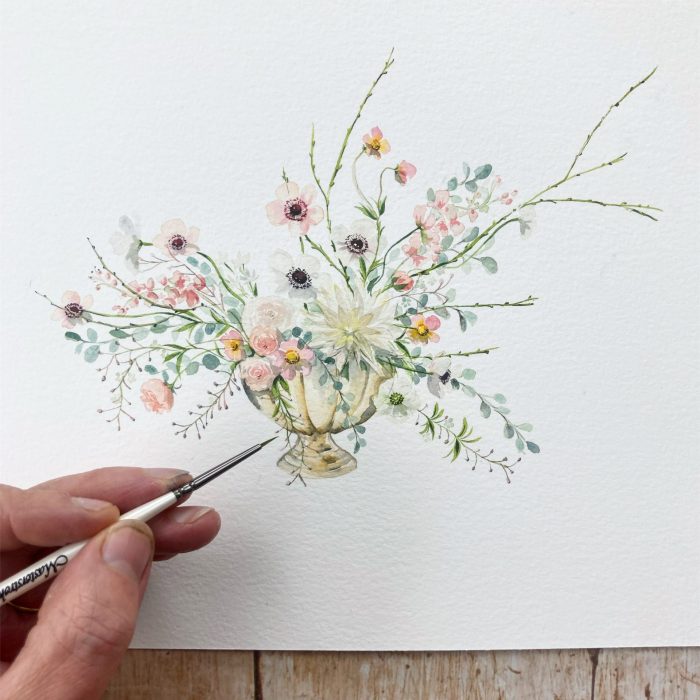
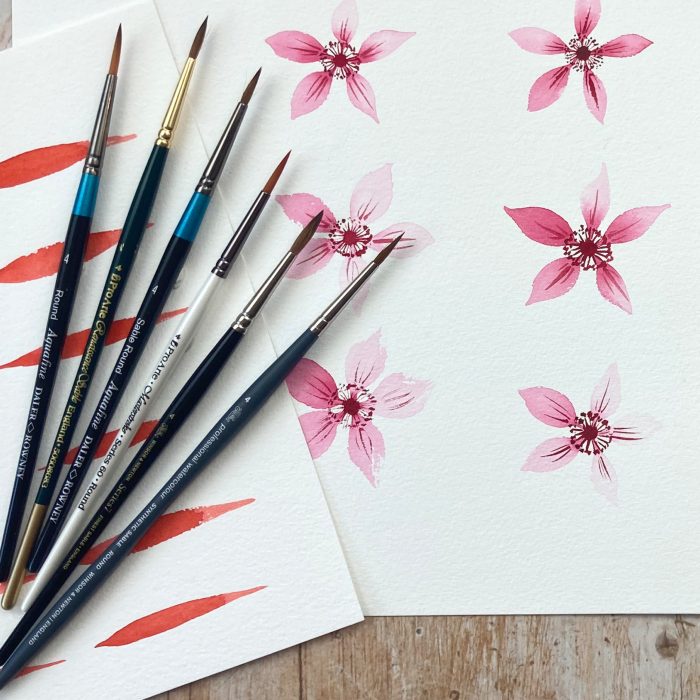
The large areas of the animals are painted best using a bigger brush, I like to use my size 4. I then add details such as legs with a size 2 brush. The brushes I use in this tutorial are the Pro Arte Masterstroke series 60 size 2/0, 4, 6 – https://bit.ly/2LCtli6
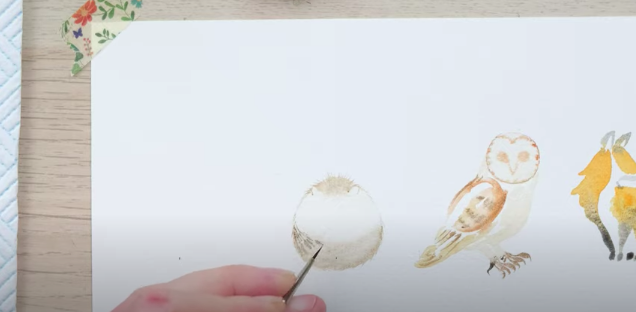
Blending
When painting woodland critters it’s always nice to have a realistic ‘furry’ texture to bring them to life. I like to start with a crisp shape at first but then use my smaller brushes to create a feathered edge which will blend nicely if you’re paper is wet.
I also like to mix my colours before painting to create unique colours, just like real animals. This can help to create a two-tone colour as well.
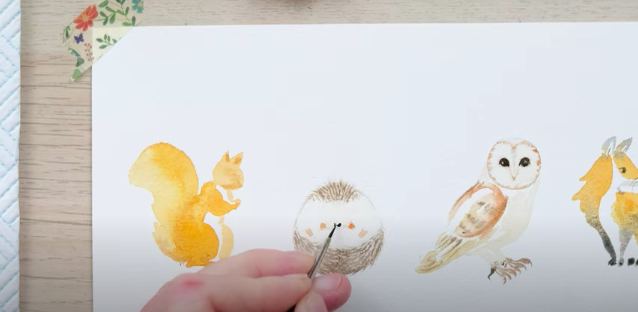
Finishing touches
Once you’ve painted each individual critter and they’ve dried it’s time to add the final details such as the eyes and noses. As this is a loose watercolour painting you don’t need to add too many details but I do think that these details finish off the painting wonderfully.
I use my small brush and black watercolour to create the final touches, and you can even dilute the black down to create subtle details as such as the end of the beak.
Let me know how you found this tutorial – How to Paint Cute Watercolour Woodland Critters. I’d love to see your take on these little guys, did you give it a go? Do you have any questions?
You can comment on our youtube video – https://www.youtube.com/watch?v=G7UCXjc20Ns or follow us on Instagram – @dewintonpaperco.
The materials used in this tutorial were:
Paint: Winsor and Newton Artist Quality – https://bit.ly/3dJHarN
Pro Arte Masterstroke series 60 size 2/0, 4, 6 – https://bit.ly/2LCtli6
Paper Daler Rowney Aquafine cold-pressed paper – https://bit.ly/3cmQSzn
You will also need a pencil, a rubber and some kitchen roll.
Thanks for taking the time to read about our tutorial this week and until next time, happy painting!🐿