

This week on our Youtube channel I posted another watercolour tutorial – How to Paint a Watercolour Dandelion. Not only do we paint the golden dandelion flower in this tutorial we also paint the white dandelion clock! Dandelions grow in all sorts of nooks and crannies so we should all be able to find a real one to paint from. I hope you enjoy watching this tutorial as much as I had fun creating it. To watch the tutorial please visit https://www.youtube.com/watch?v=UbbbnnC1eDA
We upload tutorials twice a week on Youtube so why not grab your paints and paint along with me after reading these tips and tricks below?
Painting A Watercolour Dandelion in Three Stages
I’m so excited for this weeks tutorial as we look at the three different stages of growth alongside vibrant green leaves. Which stage is your favourite?
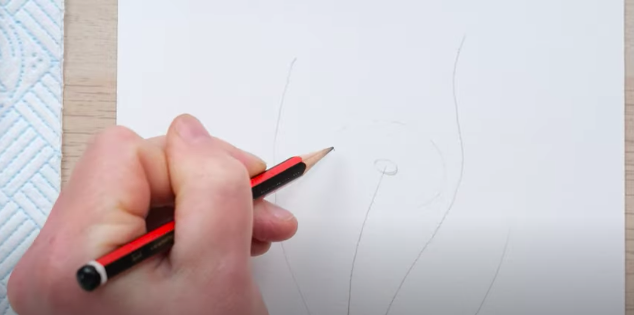
To start I sketch in the three stems and the radius boundary of each flower with a pencil to help with my composition later on in the painting.
The first stage – Fully open dandelion
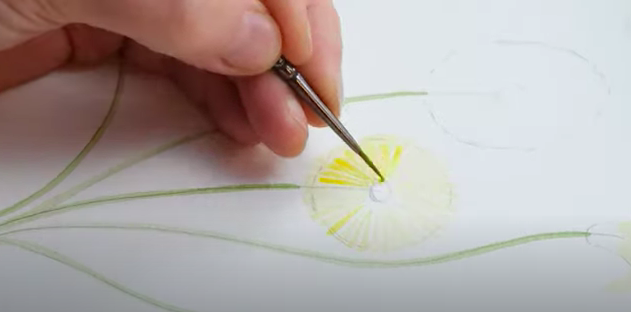
Using a bright yellow ( Cadmium Yellow to be exact) I like to start painting the flower petals by building the “fringe”. I start with a diluted yellow so that I can build up and I like to use a small brush (2/0 https://bit.ly/2LCtli6)
You can then use the circular anchor to guide you and add in very light strokes that build up to look like petals. Don’t forget that before you build up the detail wait for the first layer to dry!
To gradually build up the dandelion I like to use a darker yellow than before. You can then paint in a new layer of petals but this time it’s important to stop short so that you can see the previous layer still and therefore create the multi-layered petal texture of the flower. Continue layering the petals making sure they are shorter each time until you reach the desired effect. To add even more texture add a very small accent around the edge to help the circular shape of the dandelion.
The second stage – Half-open dandelion
This stage starts in the exact same way as the open dandelion. Build up the petals with diluted yellow and small brush strokes to create the first layer. Once dry you can follow the same steps again and add a new layer with a darker yellow.
The half-open dandelion doesn’t need as many layers or petals as the open flower so you don’t need to build it up as much but you can add the small accent around the edge to help add detail.

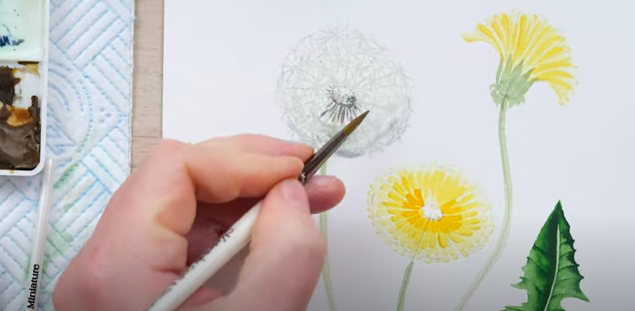
The third stage – Dandelion clock
For the fascinating dandelion clock, I like to mix up a shadowy colour using the darker colours from my palette. To create a guide for the clock start with a central dome with the darker colour before moving onto the white on white.
To create the white on the white effect you have to dilute down the shadowy mix as much as possible and then use your smallest brush possible to start painting in the fans/stars. It might seem daunting to paint white on white but if you take a look at my previous tutorial here you can pick up some technique.
Start with the outer seeds and this time build inwards until you create the desired effect. Once you have built up layers of seeds/stars use your largest brush to soften the dandelion clock with water to create a blended look. If you are brave enough you can even add in a bit of the shadow mix to add in further depth.
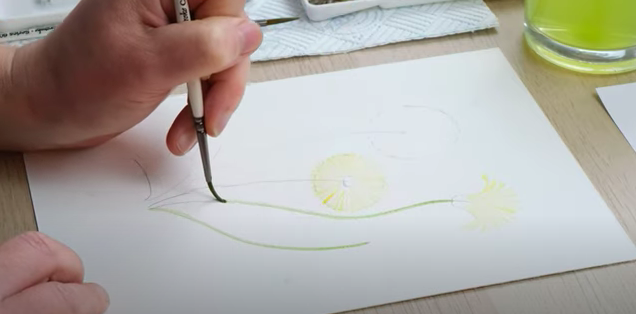
Painting the stems and leaves
When you first started this painting you drew in the long stems for each dandelion and you of course need to paint them in as well. I like to use a size 2 brush for the stems so that they are not too thin and using a dilute green I follow the pencil lines to create a continual line before rubbing the pencil out afterwards.
If you look closely at the dandelion leaf you will see how striking they really are and this is why I like to paint these leaves boldly. They are a beautiful triangular shape with an eccentric green colouring.
For the leaves, my top tip is to paint around the light stems you painted previously and to use these as a guide.
I also suggest you use a large brush so that you can work fast and blend smoothly.
Let me know how you found this tutorial – How to Paint a Watercolour Dandelion. I’d love to see your take on them, which was your favourite stage to paint? Do you have any questions? You can comment on our youtube video – https://www.youtube.com/watch?v=UbbbnnC1eDA or follow us on Instagram – @dewintonpaperco.
The materials I used in this tutorial were:
Paint: Winsor and Newton Artist Quality – https://bit.ly/3dJHarN
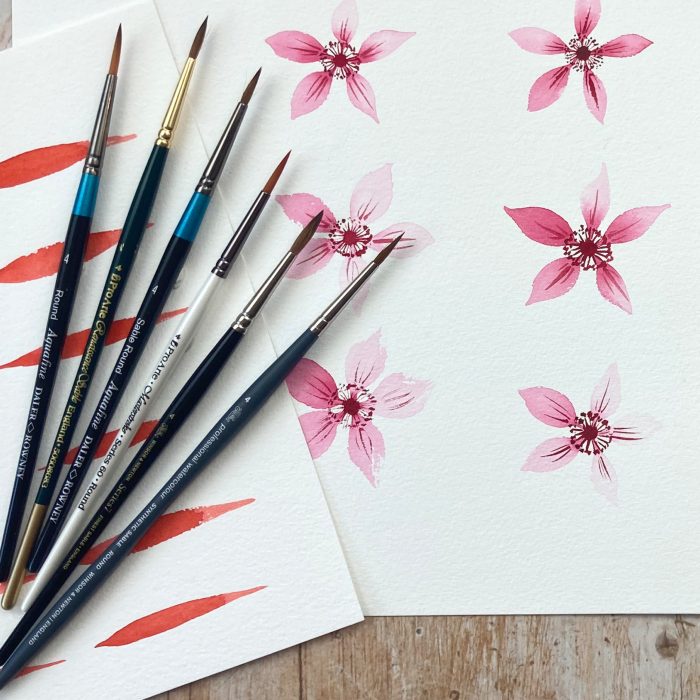
Brushes: Pro Arte size 4/0, 2/0, 2, 4 – https://bit.ly/2LCtli6
Paper Daler Rowney Aquafine cold-pressed paper – https://bit.ly/3cmQSzn
You will also need some kitchen roll.
Thanks for taking the time to read about our tutorial this week and until next time, happy painting! 🌼