

This week on our Youtube channel I posted a brand new watercolour tutorial – How to Paint a Cow Parsley Meadow.
This is my first YouTube tutorial painting a landscape in such detail and I loved every minute of it! It’s a great exercise to practice painting dilute, smooth blends and then layering detail over the top. We’re also using a block of paper today to keep the paper flat so I recommend you do the same if you are painting along. To watch the tutorial please visit https://www.youtube.com/watch?v=fv0MzWLAl5s
We upload tutorials twice a week on Youtube so why not watch the videos and paint along with me?
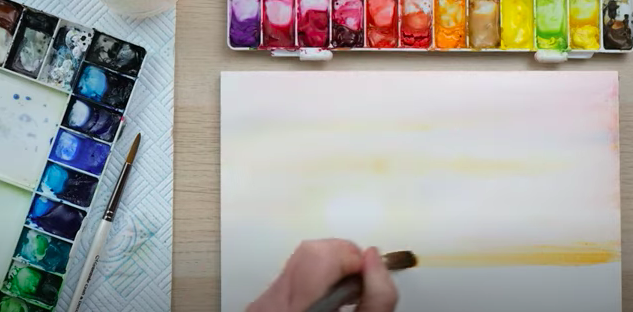
Painting the background of the meadow
To achieve such a detailed, layered painting the key is to start with a diluted, washed background. In my tutorial, you will see that I start by painting a dilute circle for the sun and as we progress I add more detail to achieve a wonderful glow.
Using dilute paint from the sun, you can then wash the colour out towards the page and it’s easy to do so with your biggest brush. I like to use my size 12 and it’s almost like a mop brush.
I love to add the colour of the background by mixing up very dilute colours and then with a lot of water on my brush painting stripes to represent the sunrise and skyline. You can add various but minimal colours and mix them together to create a wonderful blended background to start with.
Adding detail to your meadow
To start adding detail to your painting you can continue to build on the background but why not try adding some darker colours, in particular, green for the meadow. I dapple the brush around the edges of the page to frame the scene and you will instantly start to see the shape of the piece coming together.
I would usually suggest you wait for your painting to dry before adding detail but for this exercise I want you to try and use wet on wet paint. To add the cow’s parsley you can simply use a dilute darker colour and add in small shapes which will blur and blend in with the background. I add the detail by using a smaller brush but still wet.

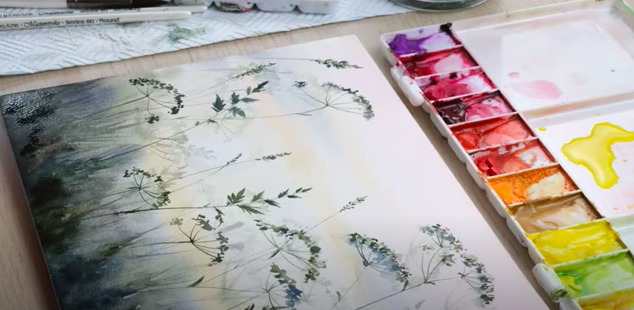
Defining your cow parsley meadow
Once you’ve allowed your piece to completely dry it’s time to add the definition and finish off. Once again I use my smaller brushes but this time I use concentrated colours instead of dilute to build up the texture.
To add definition I add in a darker colour to the already painted details as such as the seeds and grass head. Don’t forget to keep some of the colours underneath to keep the layers and texture.
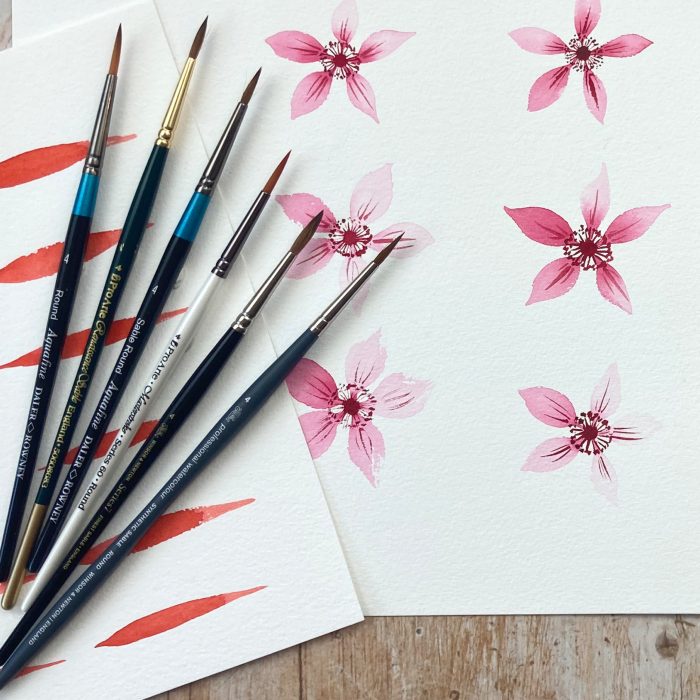
I also suggest you try and add the detail using a rigger brush, they allow you to control the lines a lot more than a rounded brush and I love to paint with them!
Let me know how you found this tutorial – How to Paint a Cow Parsley Meadow. I’d love to see your take on painting a landscape, did you give it a go? Do you have any questions?
You can comment on our youtube video – https://www.youtube.com/watch?v=fv0MzWLAl5s or follow us on Instagram – @dewintonpaperco.
The materials used in this tutorial were:
– Paint: Winsor and Newton Artist Quality – https://bit.ly/3dJHarN
– Brushes: Pro Arte series 60 size 3/0, 2/0, 2 – https://bit.ly/2LCtli6
-Brushes: Pro Arte Connoisseur series 100 size 12 https://www.jacksonsart.com/pro-arte-…
– Paper Winsor and Newton professional cold pressed Block https://www.amazon.co.uk/Winsor-Newto…
-You will also need some kitchen roll.
Thanks for taking the time to read about our tutorial this week and until next time, happy painting!