


First off, I hope you all had a fabulous Easter! Secondly, the tutorial this week over on our Youtube channel is: How to Paint a Flowering Dogwood Watercolour Wreath. This painting includes one flower – the flowering dogwood duplicated to create a beautiful wreath. To watch the tutorial please visit https://www.youtube.com/watch?v=K0Ul9_xJc_Q
We upload tutorials twice a week on Youtube so why not watch the videos and paint along with me?
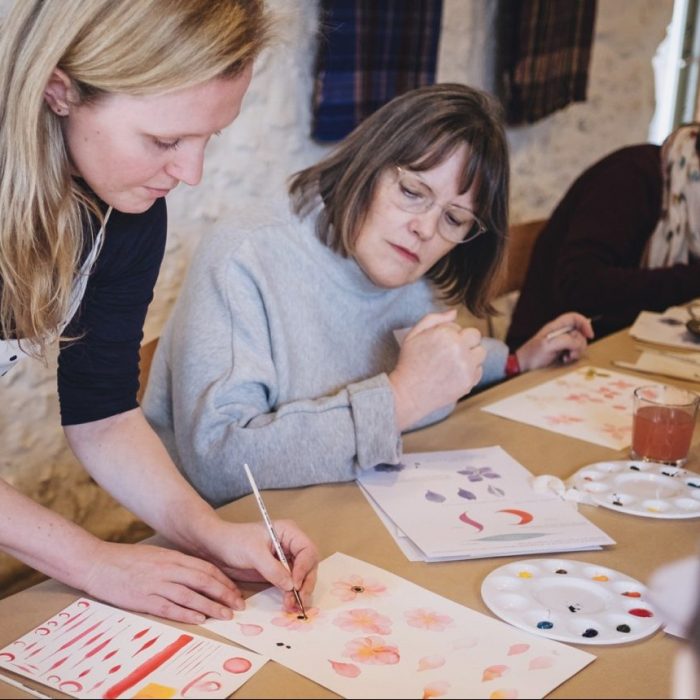
Painting Watercolour Flowers
When you decide to paint a flower, you have the choice of many shapes and sizes, alongside all different colours! A flowering dogwood flower has an unusual but wonderful shape which is why I choose it over something more commonly painted.
I also enjoy painting one type of flower over and over again as each one is painted slightly differently which creates a striking and vibrant collection of the flower.
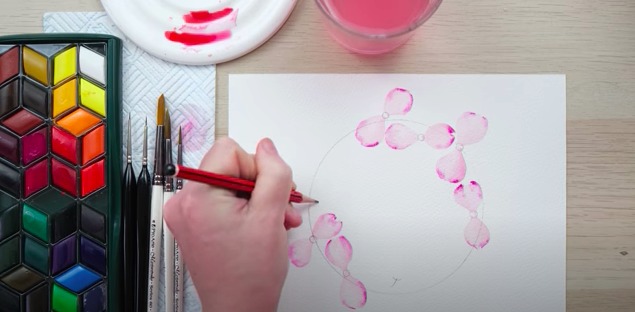
Whilst painting my flowering dogwood wreath I started by marking out the shapes to allow myself enough room to add in all the details such as stems and petals but don’t be afraid to overlap them too.
Top Tips for Painting Wreaths
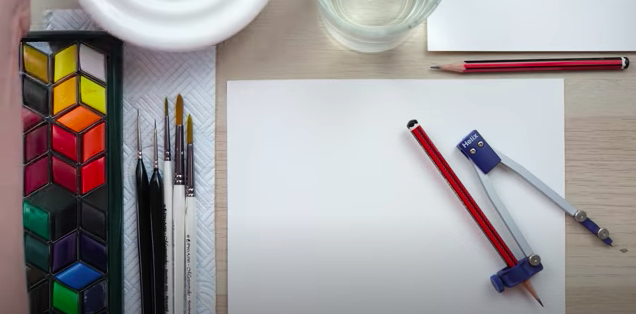
When drawing a wreath the most important thing to think about is the shape. Wreaths are circular in shape so to achieve this look, you simply have to use a protractor or draw around something circular (my palette works perfectly!)
If you don’t have the flower in front of you, use a reference photo or in this tutorial, I quickly sketched out the shape for you to see which I also find very helpful as a guide anyway.
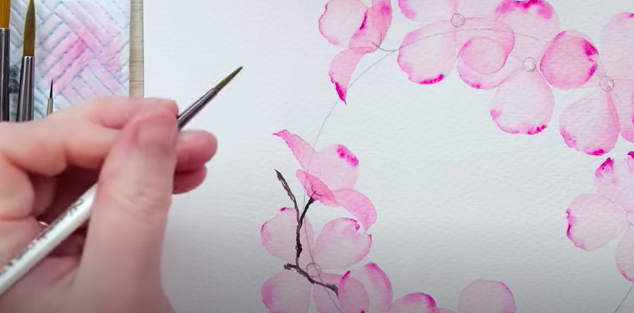
When drawing your stem and leaves try not to focus on a rigid straight edge, it’s great to follow the pencil circle that we started with but the stem in real life can be quite wiggly. Don’t forget to also rub out the pencil lines once you are done.
Layering your wreath with watercolours
To create a realistic painting of a flower wreath I would suggest painting multiple layers, allowing each layer to completely dry each time. Having layers whilst painting can help to create fantastic textures, colour overlapping and depth and I really enjoy painting in this way.
In this tutorial you will see how I layered my flowers, starting by painting a few petals and building up to side-on petals and stems. Don’t forget with watercolours it’s very easy to add colours but not as simple to get rid of any parts you may not like.
Let me know how you found this tutorial – How to Paint a Flowering Dogwood Watercolour Wreath. I’d love to see your take on them, did you give it a go? Do you have any questions? You can comment on our youtube video – https://www.youtube.com/watch?v=K0Ul9_xJc_Q or follow us on Instagram – @dewintonpaperco.
The materials I used in this tutorial were:
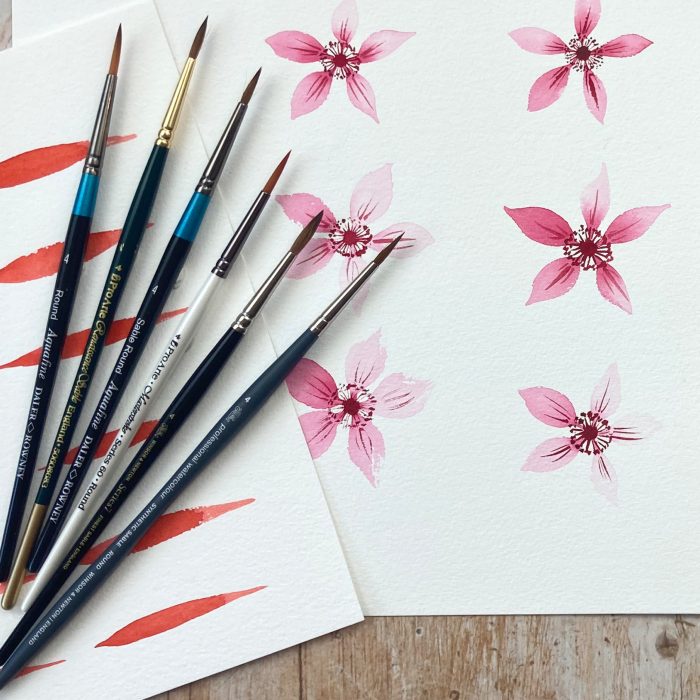
Paint: Winsor and Newton Artist Quality – https://bit.ly/3dJHarN
Brushes: Pro Arte size 2/0, 2, 6 – https://bit.ly/2LCtli6
Paper Daler Rowney Aquafine cold-pressed paper – https://bit.ly/3cmQSzn
You will also need a pencil, a compass, a rubber and some kitchen roll.
Thanks for taking the time to read about our tutorial this week all about painting a wreath and until next time, happy painting!