

This week on our Youtube channel I posted a very special watercolour tutorial – Painting Honey Bees and Hawthorn Blossom. Hawthorn Blossom is known to be well-loved by honey bees so we thought it would be the perfect pairing for this painting. To watch the tutorial please visit https://www.youtube.com/watch?v=VBESutVaCb4
We upload tutorials twice a week on Youtube so why not watch the videos and paint along with me?
Painting Hawthorn Blossom
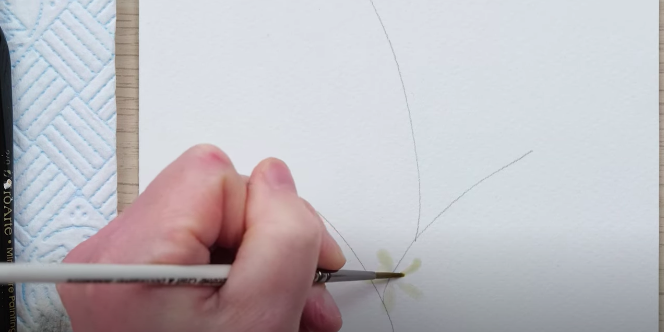
If you followed my tutorial last week you will have seen that we painted a beautiful cherry blossom flower and this week it’s the turn of Hawthorn Blossom which is also a white on white painting. To start I like to draw the outline of the branch with a pencil so that I can follow this as a guide when painting. Feel free to also add in the centre of each flower with a pencil to guide you.
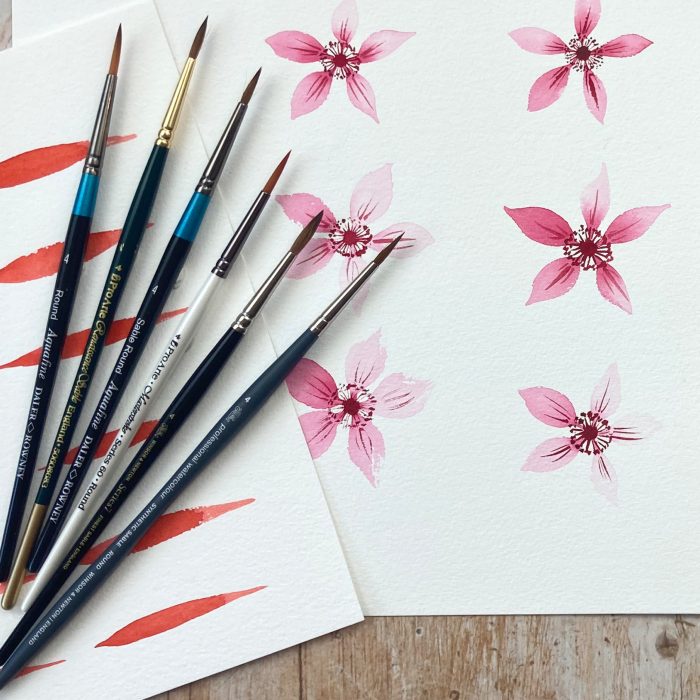
For the smaller flowers such as Hawthorn Blossom, I like to paint with a size 2 brush – Pro Arte – https://bit.ly/2LCtli6. This allows me to paint with one stroke at a time and create the perfect sized petals.
When painting flowers I like to look for ways to use simple watercolour techniques such as blending to create details. In this tutorial, I blend the petals and buds to give a realistic feel.
Adding Details
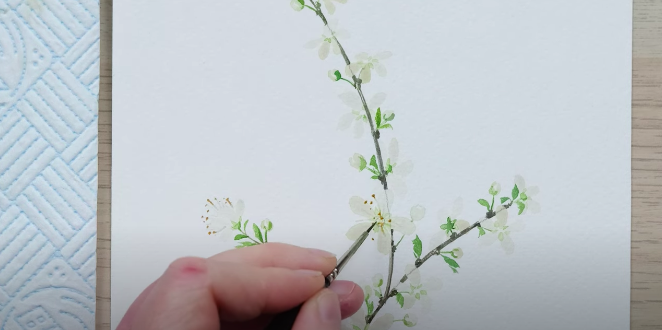
Once you’ve painted the petals of your blossom it’s time to start adding in the branch and leaves. Using a smaller brush and a darker colour palette you can build up your painting very nicely by filling in the details.
A top tip for painting in details is not to go overboard, you need to take the angle of the flower into consideration and think about how you would see the flower in real life. I find that if you paint in every single detail it can start to look overworked and rubbish!
I also like to add shadows to my floral paintings as it helps to bring them to life.
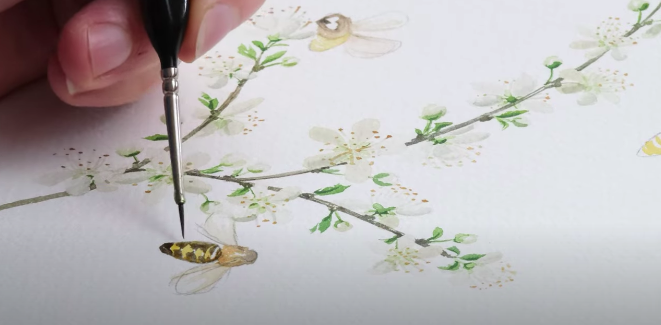
Painting Honey Bees
I love to paint honey bees, they have a lovely round circular shape which I love to use the loose watercolour technique on whilst painting. If it helps you can sketch the honey bee out first on a scrap piece of paper in various angles so that you can copy this whilst you paint. My top tip is to draw 3 shapes for each honey bee that all link together before adding legs.
I like to draw the bees in pencil on the painting before I start to make sure I get the angles correct. As the wings are translucent it’s also important to be careful on the positioning of them as when you paint them you will want them to look as realistic as possible.
Honey bees are known for their beautiful colours and I always like to paint the yellow first and then add the black stripes on top.
Let me know how you found this tutorial – How to Paint Honey Bees and Hawthorn Blossom. I’d love to see your take on this spring favourite, did you give it a go? Do you have any questions?
You can comment on our youtube video – https://www.youtube.com/watch?v=VBESutVaCb4 or follow us on Instagram – @dewintonpaperco.
The materials used in this tutorial were:
Paint: Winsor and Newton Artist Quality – https://bit.ly/3dJHarN
Brushes: Pro Arte size, 2, 6 – https://bit.ly/2LCtli6
Brushes: Pro Arte MP series miniature size 2/0 https://www.jacksonsart.com/pro-arte-…
Paper Daler Rowney Aquafine cold-pressed paper – https://bit.ly/3cmQSzn
You will also need a pencil, a compass, a rubber and some kitchen roll.
Thanks for taking the time to read about our tutorial this week and until next time, happy painting! 🐝