This week on our Youtube channel I posted a brand new watercolour tutorial – How to Paint White Cherry Blossom.
Here in the UK Spring has sprung and we have so many wonderful flowers to admire, but the White Cherry Blossom has to be one of my favourites to paint. To watch the tutorial please visit https://www.youtube.com/watch?v=vVELxjSwYq8
We upload tutorials twice a week on Youtube so why not watch the videos and paint along with me?
White Cherry Blossom
There are many variations of the cherry blossom flower, you may be more familiar with the pink tones that you see on the trees but for this tutorial, I chose a White cherry blossom as a great opportunity for us all to keep learning and push ourselves out of our comfort zones.
The cherry blossom flower inspires me to paint as it has two delicate layers of petals which create a depth to the watercolours and it also has a variety of green leaves, stems and buds which can also help to create layers and depth.
Painting White on White
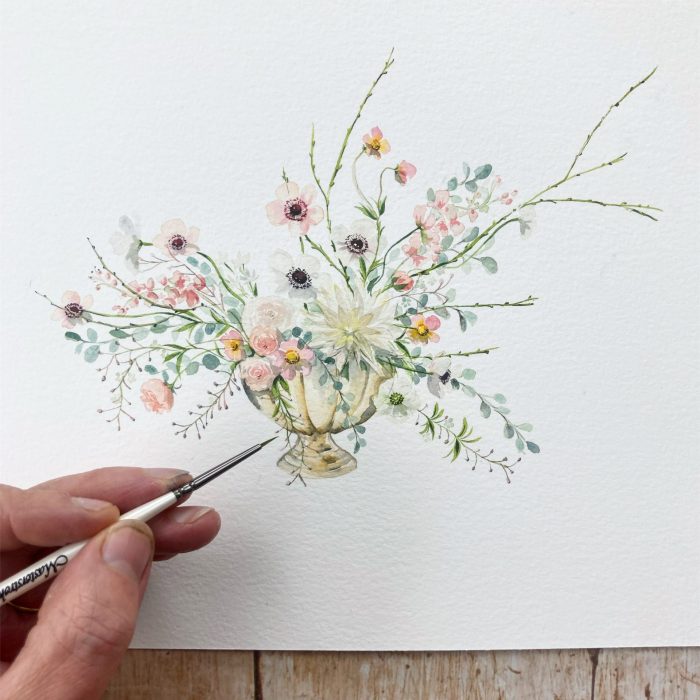
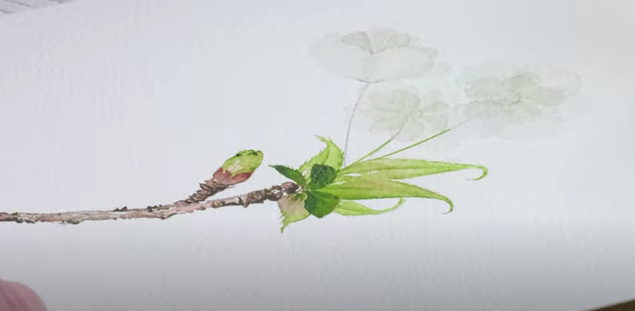
To begin painting white on white (which may seem daunting at first) I pencil in the shape of the stem and petals to assist my brush. To create the effect of the white flower I like to mix in greens, yellows and a touch of white. The paler the colour the better for this effect!
It may look strange when you mix the green and yellow together but trust the process, keep adding water and dilute the colour until it becomes delicate.
Before you begin the painting, I suggest you try the colours out on scrap paper as well and don’t forget you can keep mixing and adding until you get the right colour. It may look translucent at first but wait for it to try, you will soon see the crisp edge and different tones.
As you paint don’t forget to allow each layer to dry and then go back to add more details and colours to achieve the desired final piece.
Painting Stems and Leaves
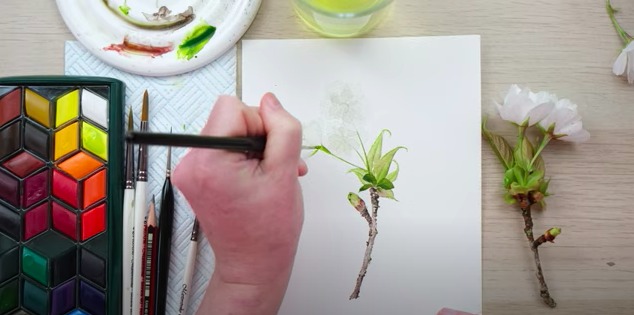
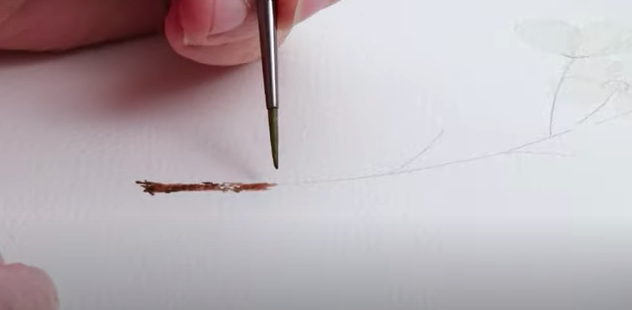
Compared to the white petals your stem and leaves might seem quite dark but the key to this is to blend! To create the texture of the stem you can practice different techniques that recreate the rough edges, I like to move my brush backwards and forwards.
By using these techniques and painting in a loose watercolour style, it can eventually build up into a very detailed texture as well which always fascinates me!
When painting the leaves I like to use a vibrant green but I also add a deep brown faintly which helps to add a new texture and colour combination.
Did you know I also have a cherry blossom tutorial in my botanical painting book? You can purchase the book here – https://dewintonpaperco.com/product/new-botanical-painting-2/
Let me know how you found this tutorial – How to Paint White Cherry Blossom. I’d love to see your take on painting white on white, did you give it a go? Do you have any questions?
You can comment on our youtube video – https://www.youtube.com/watch?v=vVELxjSwYq8 or follow us on Instagram – @dewintonpaperco.
The materials used in this tutorial were:
Paint: Winsor and Newton Artist Quality – https://bit.ly/3dJHarN
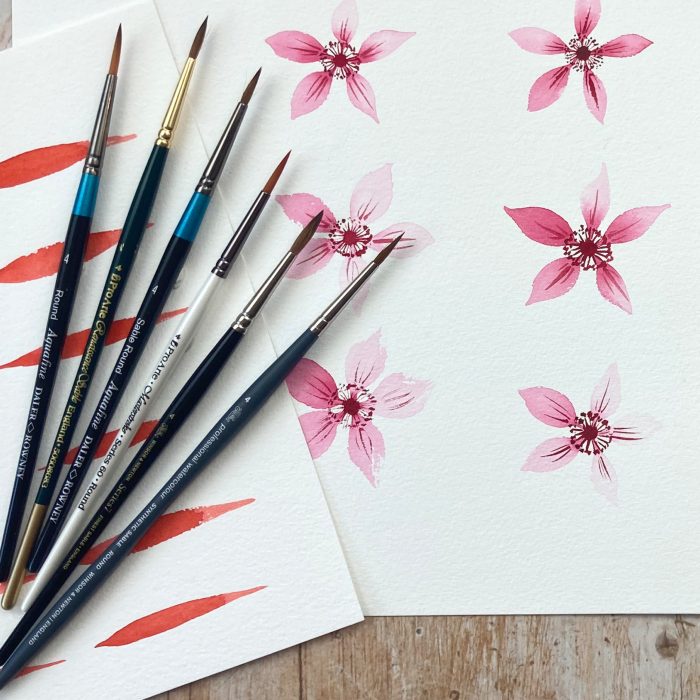
Brushes: Pro Arte size 2/0, 2, 6 – https://bit.ly/2LCtli6
Paper Daler Rowney Aquafine cold-pressed paper – https://bit.ly/3cmQSzn
You will also need a pencil, a compass, a rubber and some kitchen roll.
Thanks for taking the time to read about our tutorial this week and until next time, happy painting! 🌸
